Particle, Smoke and Debris Effects Prompt
Add sparks, dust, smoke or shattering debris to a shot with density, direction and lifetime under your control.
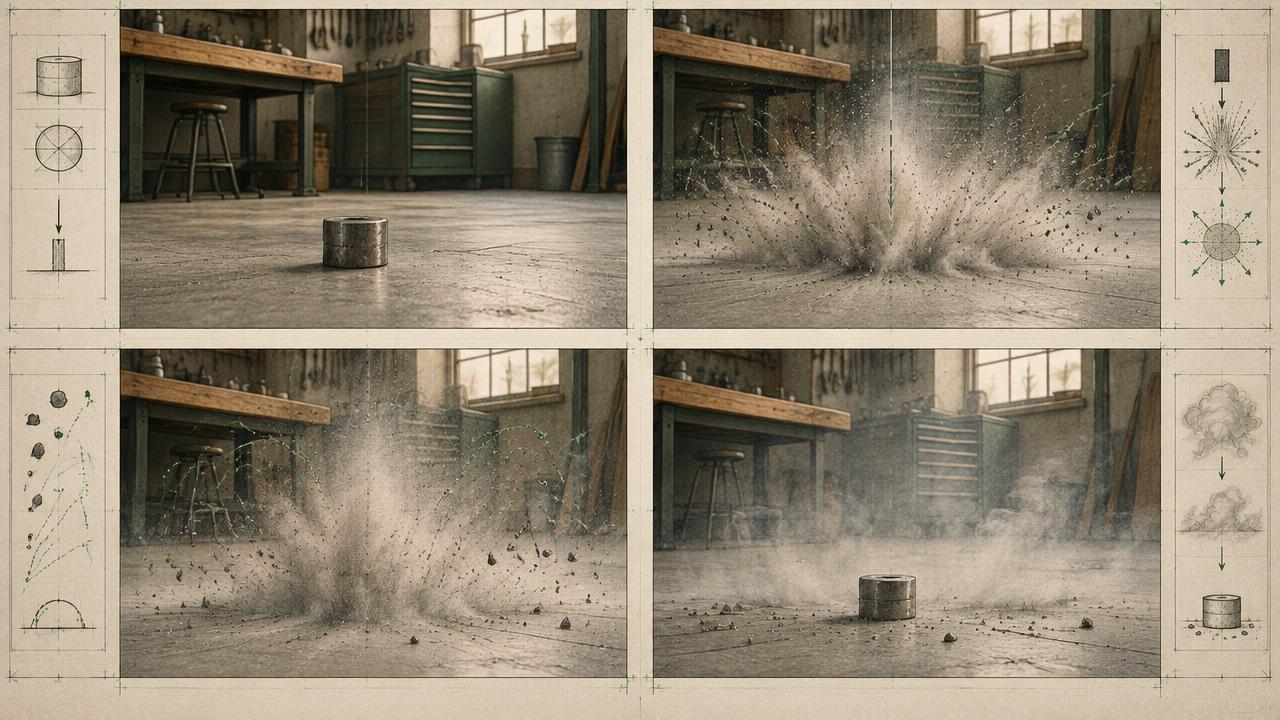
Specifies particle-based effects for AI video, defining emitter position, density, particle size, velocity, lifetime, interaction with light and how the effect resolves so smoke and debris behave believably.
Ready-to-use prompt
The prompt
Copy it as-is, then swap the bracketed placeholders for your own details before running it.
Role: You are a VFX supervisor specifying particle effects for an AI video generation.

Context:
- Base shot: {{base_shot}}
- Effect type: {{effect_type}} (smoke, dust, sparks, embers, shattering debris)
- Trigger moment: {{trigger}}
- Clip length: {{duration_seconds}} seconds

Task: Describe the effect with:
1. Emitter location and shape
2. Direction and initial velocity
3. Particle count band (sparse, moderate, dense) and particle size range
4. Lifetime and how each particle dies (fades, settles, burns out)
5. Interaction with light (backlit, self-illuminating, occluding)
6. Interaction with the subject (passes behind, wraps, collides)

Rules:
- Give the effect a beginning, a peak and a decay.
- Never let particles fully obscure the subject.
- Keep the environment lighting consistent with the effect.

Output: one scene paragraph plus a bulleted effect spec.
Estimated results
Editor's note
Why this prompt matters
Particle effects are the fastest way to make a generated shot feel alive, and the fastest way to ruin it. Ask a model for smoke and you often get a fog bank that swallows the subject for the entire clip. The difference between atmosphere and mush is control over four things: where particles come from, how fast they travel, how long they live, and how they die. This prompt makes each of those explicit, and adds a protection rule so the effect never crosses the part of the frame the viewer came to look at.
Why this matters: This technique depends on emitter, trajectory, density, lifetime, decay, and subject protection. A visually attractive take can still fail continuity or editability when those cues disagree. Establish one controlled reference, vary one element at a time, and compare every result against the same anchors before adding more motion or styling.
Anatomy
Prompt engineering breakdown
Role
Specialist video direction role priming
Context
Add sparks, dust, smoke or shattering debris to a shot with density, direction and lifetime under your control.
Goal
Add controlled particle effects to an AI video shot.
Constraints
Explicit numeric and directional constraints replace subjective adjectives.
Output format
scene paragraph plus effect spec bullets
Why this structure works
Naming the emitter and its shape anchors the effect to a point in the scene instead of the whole frame. Density bands are easier for a model to interpret than counts. A stated lifetime and death behaviour gives the effect a decay curve, which is what makes it read as physical. The subject interaction rule keeps the composition legible even at high density.
What you'll get
Expected output
Scene: a blacksmith strikes hot steel, orange sparks burst from the impact point and arc toward camera right.
Effect spec:
- Emitter: impact point on anvil, 5cm radius
- Direction: 40 degree cone toward camera right, initial velocity fast then decelerating
- Density: moderate, particle size 1 to 4 pixels
- Lifetime: 0.6s, embers cool from white to deep orange then fade
- Light: self-illuminating, casts a faint warm bounce on the forearm
- Subject interaction: sparks pass in front of the torso, never across the face
Under the hood
Why this prompt works
Naming the emitter and its shape anchors the effect to a point in the scene instead of the whole frame. Density bands are easier for a model to interpret than counts. A stated lifetime and death behaviour gives the effect a decay curve, which is what makes it read as physical. The subject interaction rule keeps the composition legible even at high density.
A practical review should separate subject accuracy, motion, camera, and environment rather than judging the clip as one impression. Unbounded particles become uniform fog or permanently obscure the subject. Give the effect a source, brief peak, visible decay, and a region it must not cross.
Review test: Watch emitter, peak, and decay separately; particles should follow one force, lose energy, and leave the protected region readable.
Production check: Render a lower-density safety take alongside the preferred version. Particles often appear denser after compression, colour grading, and smaller-screen playback; the alternate gives the editor a usable option without repeating the whole shot.
Model fit
Best AI models for this prompt
Veo
Use natural-language cinematography to direct emitter, trajectory, density, lifetime, decay, and subject protection. Veo works best when physical cause, scene response, and camera intent form one coherent description; treat numeric settings as visual cues rather than guaranteed literal controls.
Kling
Use Subject Binding or the Element Library for recurring subjects, then direct emitter, trajectory, density, lifetime, decay, and subject protection. Place the bound identity before style and action. Kling can produce expressive motion, so reduce simultaneous changes when consistency weakens.
Runway
Use Gen-4 References to lock the approved subject or composition, then prompt primarily for emitter, trajectory, density, lifetime, decay, and subject protection. Generate difficult actions as separate short clips and assemble them in an editor when exact timing or continuity matters.
When to use
- When a shot needs energy or a sense of impact.
- For atmospheric depth in an empty environment.
- For transitions built from smoke or dust.
When not to use
- For clean product shots on white.
- When the subject face must stay unobstructed and the effect is heavy.
- For UI or text-only animations.
Get more from it
Pro tips
- 1
Give every particle system a lifetime and a death behaviour.
- 2
Use density bands, not counts, models cannot track particle numbers.
- 3
Define whether particles pass in front of or behind the subject.
- 4
Match the effect colour temperature to the scene key light.
- 5
Review one controlled take for emitter, trajectory, density, lifetime, decay, and subject protection before increasing complexity.
Don't ship this
Common mistakes
✗ Asking for smoke with no emitter or direction.
Fix — State where the effect starts and which way it travels.
✗ Letting the effect run at full density for the whole clip.
Fix — Define a build, a peak and a decay across the timeline.
✗ Ignoring how particles are lit.
Fix — Say whether they are backlit, self-illuminating or occluding.
✗ Unbounded particles become uniform fog or permanently obscure the subject.
Fix — Give the effect a source, brief peak, visible decay, and a region it must not cross.
People also ask
Frequently asked questions
Q.Can I add particles to an existing generated clip?
With image-to-video or video-to-video models, yes. Feed the base clip and use the effect spec alone as the instruction.
Q.Why do my particles cover the subject?
Density is too high and no protection rule was given. Drop to sparse or moderate and state which area particles must avoid.
Q.How do I keep effects consistent across shots?
Reuse the same effect spec bullets verbatim and change only the emitter location.