Light and Lens Effects Prompt
Direct lens flares, bokeh, light streaks and exposure shifts as motion rather than as a filter.
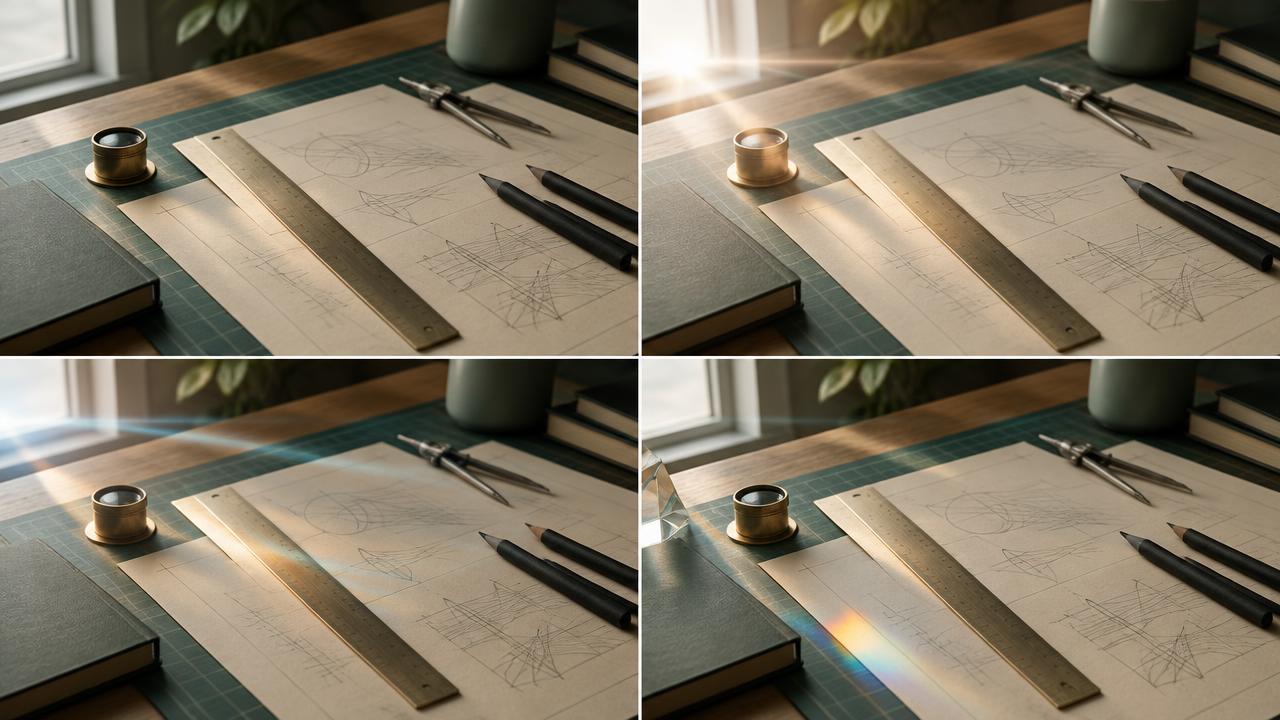
Specifies in-camera light behaviour for AI video, including flare source and travel, bokeh shape and depth, light streak direction, exposure change over time and how highlights bloom, so effects move with the shot.
Ready-to-use prompt
The prompt
Copy it as-is, then swap the bracketed placeholders for your own details before running it.
Role: You are a director of photography specifying in-camera light effects for AI video.

Context:
- Scene: {{scene}}
- Light sources: {{light_sources}}
- Clip length: {{duration_seconds}} seconds
- Look reference: {{look}}

Task: Specify the light behaviour with:
1. Each practical light source, its position and colour temperature
2. Flare type, its source, and how it travels through frame as the camera moves
3. Bokeh shape, size and which depth plane carries it
4. Light streaks or trails, their direction and persistence
5. Exposure change over the clip and what motivates it
6. Highlight bloom and halation level

Rules:
- Every effect must be motivated by a named source.
- Effects move with the camera, they are not static overlays.
- Do not blow out the subject face at any point.

Output: a lighting spec block plus a single generation prompt.
Estimated results
Editor's note
Why this prompt matters
Lens effects fail when they are treated as a filter. A flare that sits in the same spot while the camera moves reads instantly as an overlay, and bokeh applied to the whole frame flattens the depth it was meant to create. Real optical artefacts have a source and they move in relation to that source. This prompt asks you to name every light in the scene and then tie each effect to one of them, including how it travels as the camera moves, so the result behaves like glass in front of a sensor rather than a preset dropped on top.
Why this matters: This technique depends on motivated sources, depth placement, effect travel, and exposure protection. A visually attractive take can still fail continuity or editability when those cues disagree. Establish one controlled reference, vary one element at a time, and compare every result against the same anchors before adding more motion or styling.
Anatomy
Prompt engineering breakdown
Role
Specialist video direction role priming
Context
Direct lens flares, bokeh, light streaks and exposure shifts as motion rather than as a filter.
Goal
Direct light and lens effects as motion within the shot.
Constraints
Explicit numeric and directional constraints replace subjective adjectives.
Output format
lighting spec block plus generation prompt
Why this structure works
Requiring a motivating source for every artefact grounds the effect in the scene geometry. Linking effect travel to camera motion produces parallax, which is the cue that separates in-camera artefacts from overlays. Restricting bokeh to a named depth plane preserves depth separation, and protecting the face from bloom keeps the subject exposed correctly.
What you'll get
Expected output
Lighting spec:
- Practicals: neon sign camera left 3200K, street lamp behind subject 4000K
- Flare: anamorphic horizontal streak from the neon, travels right as the camera dollies left
- Bokeh: oval, large, on the far background plane only
- Streaks: passing car headlights trail left to right, 0.3s persistence
- Exposure: opens half a stop at 2.0s as the subject steps out of the lamp pool
- Bloom: moderate halation on the neon only, face protected
Under the hood
Why this prompt works
Requiring a motivating source for every artefact grounds the effect in the scene geometry. Linking effect travel to camera motion produces parallax, which is the cue that separates in-camera artefacts from overlays. Restricting bokeh to a named depth plane preserves depth separation, and protecting the face from bloom keeps the subject exposed correctly.
A practical review should separate subject accuracy, motion, camera, and environment rather than judging the clip as one impression. Static flare and frame-wide bokeh read as overlays instead of optical behaviour. Tie each effect to a named source and describe how it moves relative to the camera and depth planes.
Review test: Track the effect against its source as the camera moves; it should show plausible parallax without erasing key detail.
Production check: Approve the base shot before adding optical effects. If exposure, focus, camera path, and subject movement are still changing, it becomes difficult to tell whether the flare or bokeh is behaving incorrectly or merely revealing another unstable variable.
Keep a clean version without the effect. It provides a fallback for compositing and makes it possible to compare whether the generated optical treatment improves depth or merely reduces clarity.
Model fit
Best AI models for this prompt
Veo
Use natural-language cinematography to direct motivated sources, depth placement, effect travel, and exposure protection. Veo works best when physical cause, scene response, and camera intent form one coherent description; treat numeric settings as visual cues rather than guaranteed literal controls.
Kling
Use Subject Binding or the Element Library for recurring subjects, then direct motivated sources, depth placement, effect travel, and exposure protection. Place the bound identity before style and action. Kling can produce expressive motion, so reduce simultaneous changes when consistency weakens.
Runway
Use Gen-4 References to lock the approved subject or composition, then prompt primarily for motivated sources, depth placement, effect travel, and exposure protection. Generate difficult actions as separate short clips and assemble them in an editor when exact timing or continuity matters.
When to use
- For night exteriors, concerts and neon-lit scenes.
- When footage looks flat and needs depth from light.
- To match generated shots with anamorphic reference footage.
When not to use
- For clean corporate or documentary looks.
- For product shots requiring accurate colour.
- When the client has banned lens artefacts.
Get more from it
Pro tips
- 1
Name the source of every flare, unmotivated flares look pasted on.
- 2
Describe how the effect moves as the camera moves.
- 3
Assign bokeh to a specific depth plane rather than the whole frame.
- 4
State a face protection rule so bloom does not destroy the exposure.
- 5
Review one controlled take for motivated sources, depth placement, effect travel, and exposure protection before increasing complexity.
Don't ship this
Common mistakes
✗ Static flares over a moving camera.
Fix — Describe the flare travelling across frame in response to the move.
✗ Bokeh across every depth plane.
Fix — Limit bokeh to the far background or a named plane.
✗ Unlimited bloom.
Fix — Set a moderate halation level and protect the subject face.
✗ Static flare and frame-wide bokeh read as overlays instead of optical behaviour.
Fix — Tie each effect to a named source and describe how it moves relative to the camera and depth planes.
People also ask
Frequently asked questions
Q.Why do my lens flares look fake?
They are usually unmotivated and static. Name a source and describe how the flare travels as the camera moves.
Q.Can I match a specific lens look?
Yes. Name the character you want, such as anamorphic horizontal streak or vintage low-contrast halation, and keep it consistent across shots.
Q.Does bokeh have to be circular?
No. Specify oval for anamorphic, hexagonal for older glass, or circular for modern spherical lenses.